GE Washer Lid Lock Replacement Guide (Front Load and Top Load)
Washers have a safety lock in the lid which prevents you from opening it during a washing cycle. Some washers have an automatic pausing system when you open the lid, and others don’t allow you to open the lid unless you pause the washing cycle.
A lid switch and a spring-loaded lid lock or door lock actuate this safety lock. The spring-loaded lid lock might get damaged after a few years due to frequent opening and closing of the lid. So, in such cases, you might have to replace the lid lock and switch so your washer can safely operate.
So, in this article, we will find out how to replace lid lock and switch with GE top load and front load washers.

How to Replace GE Washing Machine Door Lock?
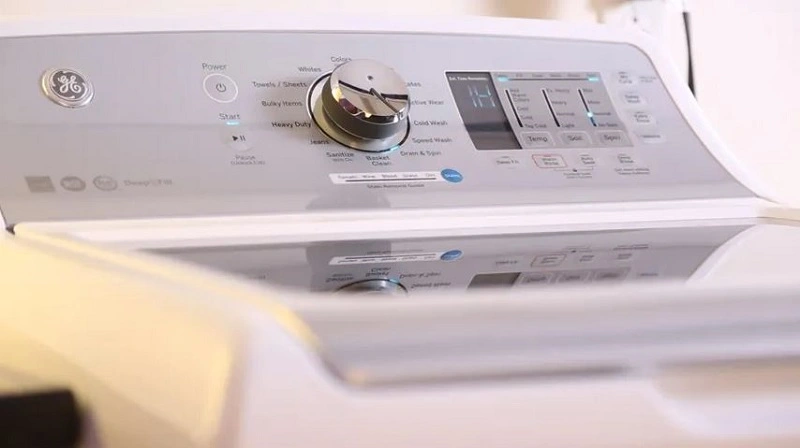
Both top-load and front-load GE washers have their lid locks on the entrance of the washer. You can access it with simple tools, remove them, and replace it with a new door lock assembly on your own. You just have to know how to remove the GE washer door lock and reinstall it in the washer properly. Once you reinstall the new lock, it will work seamlessly.
Let us now understand the complete procedure for replacing the lid lock and door lock on the GE top load washer and GE front load washer respectively.
GE Top Load Washer Lid Lock and Lid Switch Replacement
The top-load GE washer usually doesn’t work if the lid is not locked properly. So, you have to replace it with a new one, and here is the complete procedure to do it.
Tools Required:
- Flat head screwdriver
- New GE lid lock and switch
- Safety Gloves
Procedure
- Wear gloves for your safety and turn off the appliance. Also, unplug it from the socket to ensure safety.
- Open the washer lid and you can find a rectangular hole on the bottom right of the top frame. This is where the lid gets locked into the lid switch.
- You can find a plastic frame over the hole and you can pry it out with your flathead screwdriver.
- Gently pry one end of the frame and lift it out. If you force it, it may break. Therefore, you have to be gentle while removing the plastic frame from the lock.
- Once it is out, you can find the general electric washer lid switch down the hole.
- Slide your hands on the inner side of the frame to reach the bottom of the lid switch.
- Since the plastic frame is out, you can pull the switch out of the washer’s top frame. Slightly pull the switch out of the frame and it will come off.
- The lid lock switch is held by the wire harness and you can simply plug it out from the washer.
- You now have the lid lock switch removed from the washer. Now take your new lid lock switch or if you haven’t ordered it yet, you can buy a new one with the part number mentioned on the old switch.
- Take the new switch and plug back the wire harness into the new switch.
- Insert the switch back into the top frame by aligning the part to the hole properly. If you place one end of the switch properly, the other end will snap right into it without any difficulty.
- Once you have placed the switch in the washer, insert the plastic frame back into the lid switch hole just by pressing on it.
- You have now replaced the GE washer lid lock on a top-load model.
GE Front Load Washer Door Lock Replacement

The front-load washers are slightly different and you will need some extra tools to remove the switch from the washer. But it is easy and you can simply do it on your own if you follow the procedure.
Tools Required:
- Philips head screwdriver
- Flat head screwdriver
- Nose pliers
- New GE front load washer door lock
- Safety Gloves
Procedure
- Wear safety gloves and turn off the washer. Also, remove the plug from the electrical socket to ensure safety.
- Open the washer door and you can find the door lock switch on the right side of the entrance.
- Then you can find the door is sealed with a rubber bellow. To access the lock switch, you need to remove the rubber seal.
- The rubber seal is held in place with a spring band which has to be removed first.
- So, take your flathead screwdriver and locate the spring at the bottom of the rubber bellow seal. Simply pry it out with the screwdriver and gently remove it from the door seal.
- Once you remove it, you can remove the rubber seal from the washer entrance to access the switch.
- As we had mentioned earlier, the door lock switch is held by three screws and you have to remove the screws using the Philips screwdriver.
- After removing the screws, you can pull out the lock switch from the washer frame.
- Remove the wire harness from the old switch and take it out. Now take the new door lock switch and plug the wire harness into it.
- Place the new switch in the washer frame so that the locking area aligns with the hole in the frame.
- Put the screws back so that the lock switch is held onto the frame firmly.
- Now you have to replace the spring band to keep the rubber seal intact on the door frame.
- To do that, place the spring band on the bottom of the rubber seal just on the V-groove. Make sure the spring is exactly at the six o’clock position.
- Now hold the spring using the nose pliers and pry the band into the rubber seal using the flat-head screwdriver.
- You have now successfully replaced the GE front load washer door lock.
Why GE Washer Lid Switch Replacement is Necessary?
GE washers can operate a wash cycle only when the lid or door is locked. This is to ensure safety during the wash cycle. So, if you want your washer to function normally, you must have a functioning lid lock and switch.
When your lid switch is faulty, you can find your GE washer to pause frequently or not even start the washing cycle. So, you have to replace the lid switch to ensure the lid locks in place properly.
Therefore, the main reason to replace the lid switch is to ensure seamless functioning of the GE washer and better safety for the users and machine.
How to tell if the GE Washer Lid Switch is Bad?
The first sign that tells you that your lid switch has gone bad is that your lid will not lock properly. When you try to close the washer lid and start the cycle, it will not lock and the wash cycle will not begin.
You can find the washer to turn off or pause the wash cycle automatically even before starting the cycle. This is primarily caused by the faulty lid switch.
Another way is that you might find your washer to power off within a few seconds after turning it on. This is due to the faulty electrical signal from the bad lid switch.
Using these signs, you can ensure that the lid switch is faulty. Another way to confirm the problem with the lid switch is by removing it from the washer and physically examining it.
You can check for the following things when you examine the lid switch:
- Check whether the springs on the lid lock are intact and have proper tension on them
- Ensure the wire harnesses are intact and they don’t have any kind of damage.
- Check whether dust and debris are preventing the lock from engaging.
- Inspect for any electrical short circuits or burn marks that might have damaged the switch.
Once you analyze these things and find out that the switch is faulty, you have to replace them right away.
Conclusion
GE has ensured safety with their washers using the lid and door lock mechanism. But when the lid lock and the door lock switches have some issues, you have to replace them immediately so that the washer can be operated safely. This guide will help you fix all the issues with your GE washer lid lock or door lock so that you can operate the appliance without any difficulty.


