Installing a washing machine might seem difficult, but you can easily set up the new appliance with the right guidance and a few simple tools. Proper installation ensures both safety and efficient functionality. Also, you can prevent a lot of safety hazards in the laundry room if you perform the installation professionally.
So, here is a DIY washing machine installation guide you can follow to install your new washing machine for the first time. You can also have the instruction manual from the washing machine manufacturer for reference.

Washing Machine Installation Steps
Step 1: Choose the Right Location
Choose a suitable location for your washing machine. It should have a sophisticated water inlet source, an outlet drain, and a sufficient number of electrical power outlets.
Also, the location should be dry, with leveled flooring, and must have sufficient ventilation. The location should have enough space around the machine for easy access.
It is better to have a separate room for laundry. Because you can prevent pets and children from accessing the appliance. Also, install cupboards with locks to store laundry products. This will keep the harmful chemicals out of children’s reach.
Step 2: Prepare the Water Supply
You must set up the water inlet before you connect the washing machine to the water supply. Usually, your house will have the necessary plumbing done beforehand. But if a water outlet is not available, seek a plumber to install a new water outlet to connect your washing machine.
Once you have the water outlet installed, follow these steps:
- Locate the hot and cold water supply valves on the wall behind the washing machine and turn off both valves.
- Connect one end of the hot water hose to the hot water supply valve in the wall and the other end to the hot water inlet on the back of the washing machine.
- Secure the connections tightly using a wrench. Repeat the same procedure for the cold-water inlet.
- Make sure that all connections are secured tightly and use Teflon tapes while fastening the valves to prevent water leaks.
Step 3: Install the Drain Hose
- Locate the drain outlet present at the back of the washing machine.
- Take the drain hose provided with the washer and connect one side of the drain hose to the machine’s drain outlet.
- Place the other end of the drain hose into the drain pipeline that connects to the sewer line.
- Ensure that the pipe is secured and positioned at the appropriate height to prevent wastewater from flowing back into the machine.
- To fix the hose in one place, you can use zip ties or hose clamps.
- After complete installation of the washer, you may run a test cycle to check if the machine effectively drains water into the proper outlet.
Step 4: Levelling the Machine
The washing machine must be leveled properly on the ground to ensure stability during wash and spin cycles. Improper leveling might lead to tumbling of the machine and your machine may move around due to the vibration.
To level the machine flat on the ground use the following steps:
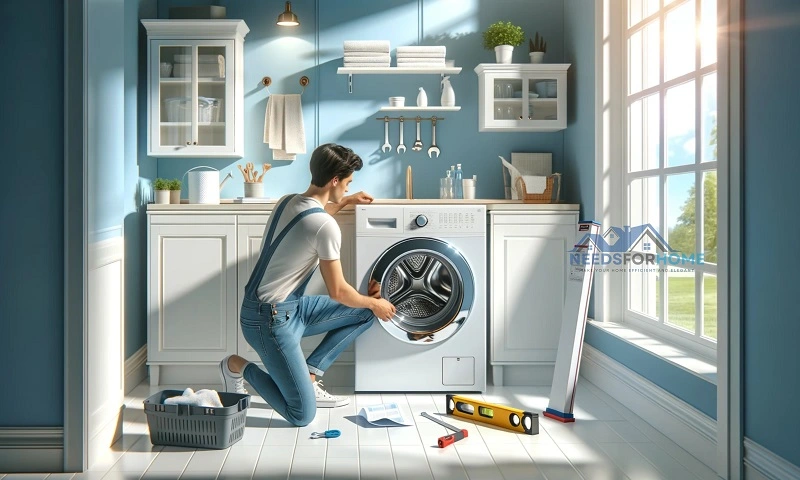
- Place a spirit level on top of the washing machine and adjust the machine’s feet until it gets leveled in both directions. Most of the machines provide adjustable legs. Use it to get the proper level.
- Once the machine is level, lock the legs in place. If you can’t find proper leveling or if there aren’t any adjustable legs, you might have to use a pedestal to place the washer to get the best level.
Step 5: Electrical Connection
Now that you have installed the washer in place, it is time to power up the machine. Ensure safety precautions before connecting the washer to the electrical outlet.
- Plug the power cable into the electrical outlet. Make sure that the cables are properly grounded and secure.
- Avoid using extension cords, as they may not provide sufficient grounding.
- Do not overload the circuit with other appliances.
Step 6: Test the water line and run the machine
Before you start using your washing machine, it is important to inspect the water line for leaks or loose fittings.
- Turn on the water supply slowly and check for leaks in the hoses and connectors.
- Plug in the machine and make sure that the machine is powered up without any error codes on the display.
- Start with a small load of laundry and ensure that the machine fills, agitates, drains, and spins correctly.
Step 7: Follow the safety measures during washing
While using a machine, always remember to follow the washing machine safety measures. Here are some of the basic measures to observe:
- Never overload the machine with the laundry. Always refer to the manufacturer’s guidelines for preferred load capacity.
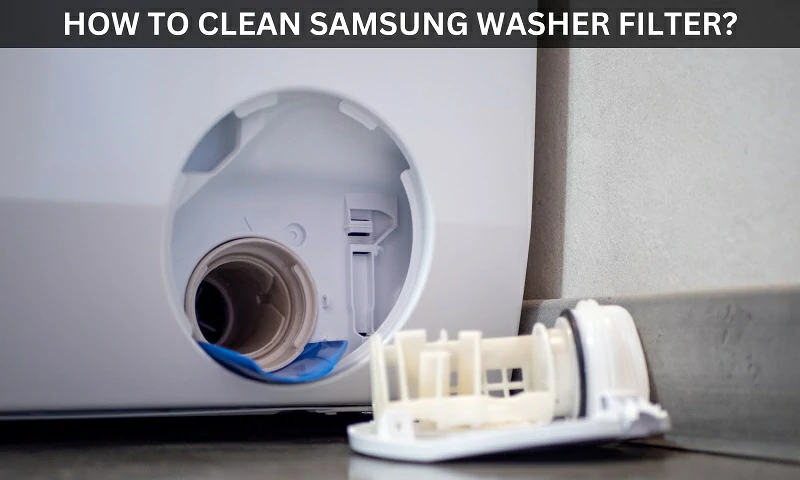
- Maintain the machine’s efficiency and prevent clogs by regularly cleaning the lint filter.
- To prevent mold growth, make sure the space around the washing machine is well-ventilated.
- Check the drain and water hoses regularly for wear or damage and replace them if necessary.
- When a machine is not in use for an extended time, unplug the power cord and turn off the water supply.
Do you Need a Plumber to Install a Washing Machine?
In many cases, you don’t need a plumber to install a washing machine. When purchasing a new washing machine, you may have personnel from the brand or store to give a demo of the machine. They might help you with the installation and you can learn all about the machine from them.
Even if no such assistance is available you can easily DIY the setup on your own. When your laundry room has an existing water line and proper electrical outlet, the installation is easy and can be done by yourself with assistance from family members.
All washers come with detailed installation instructions that will guide you through the entire process. Therefore, you can attempt to install it on your own.
But, if you do not have proper water lines or the lines are not accessible, you may have to hire a qualified plumber to make the necessary plumbing setup. Also, if you have difficulty installing the washing machine by yourself, you can always seek a plumber to install it in the best way.


